A work in progress – how to reupholster a chair seat for cheap or free, with scrap fabric and recycled stuffing. These pictures show some of the progress.
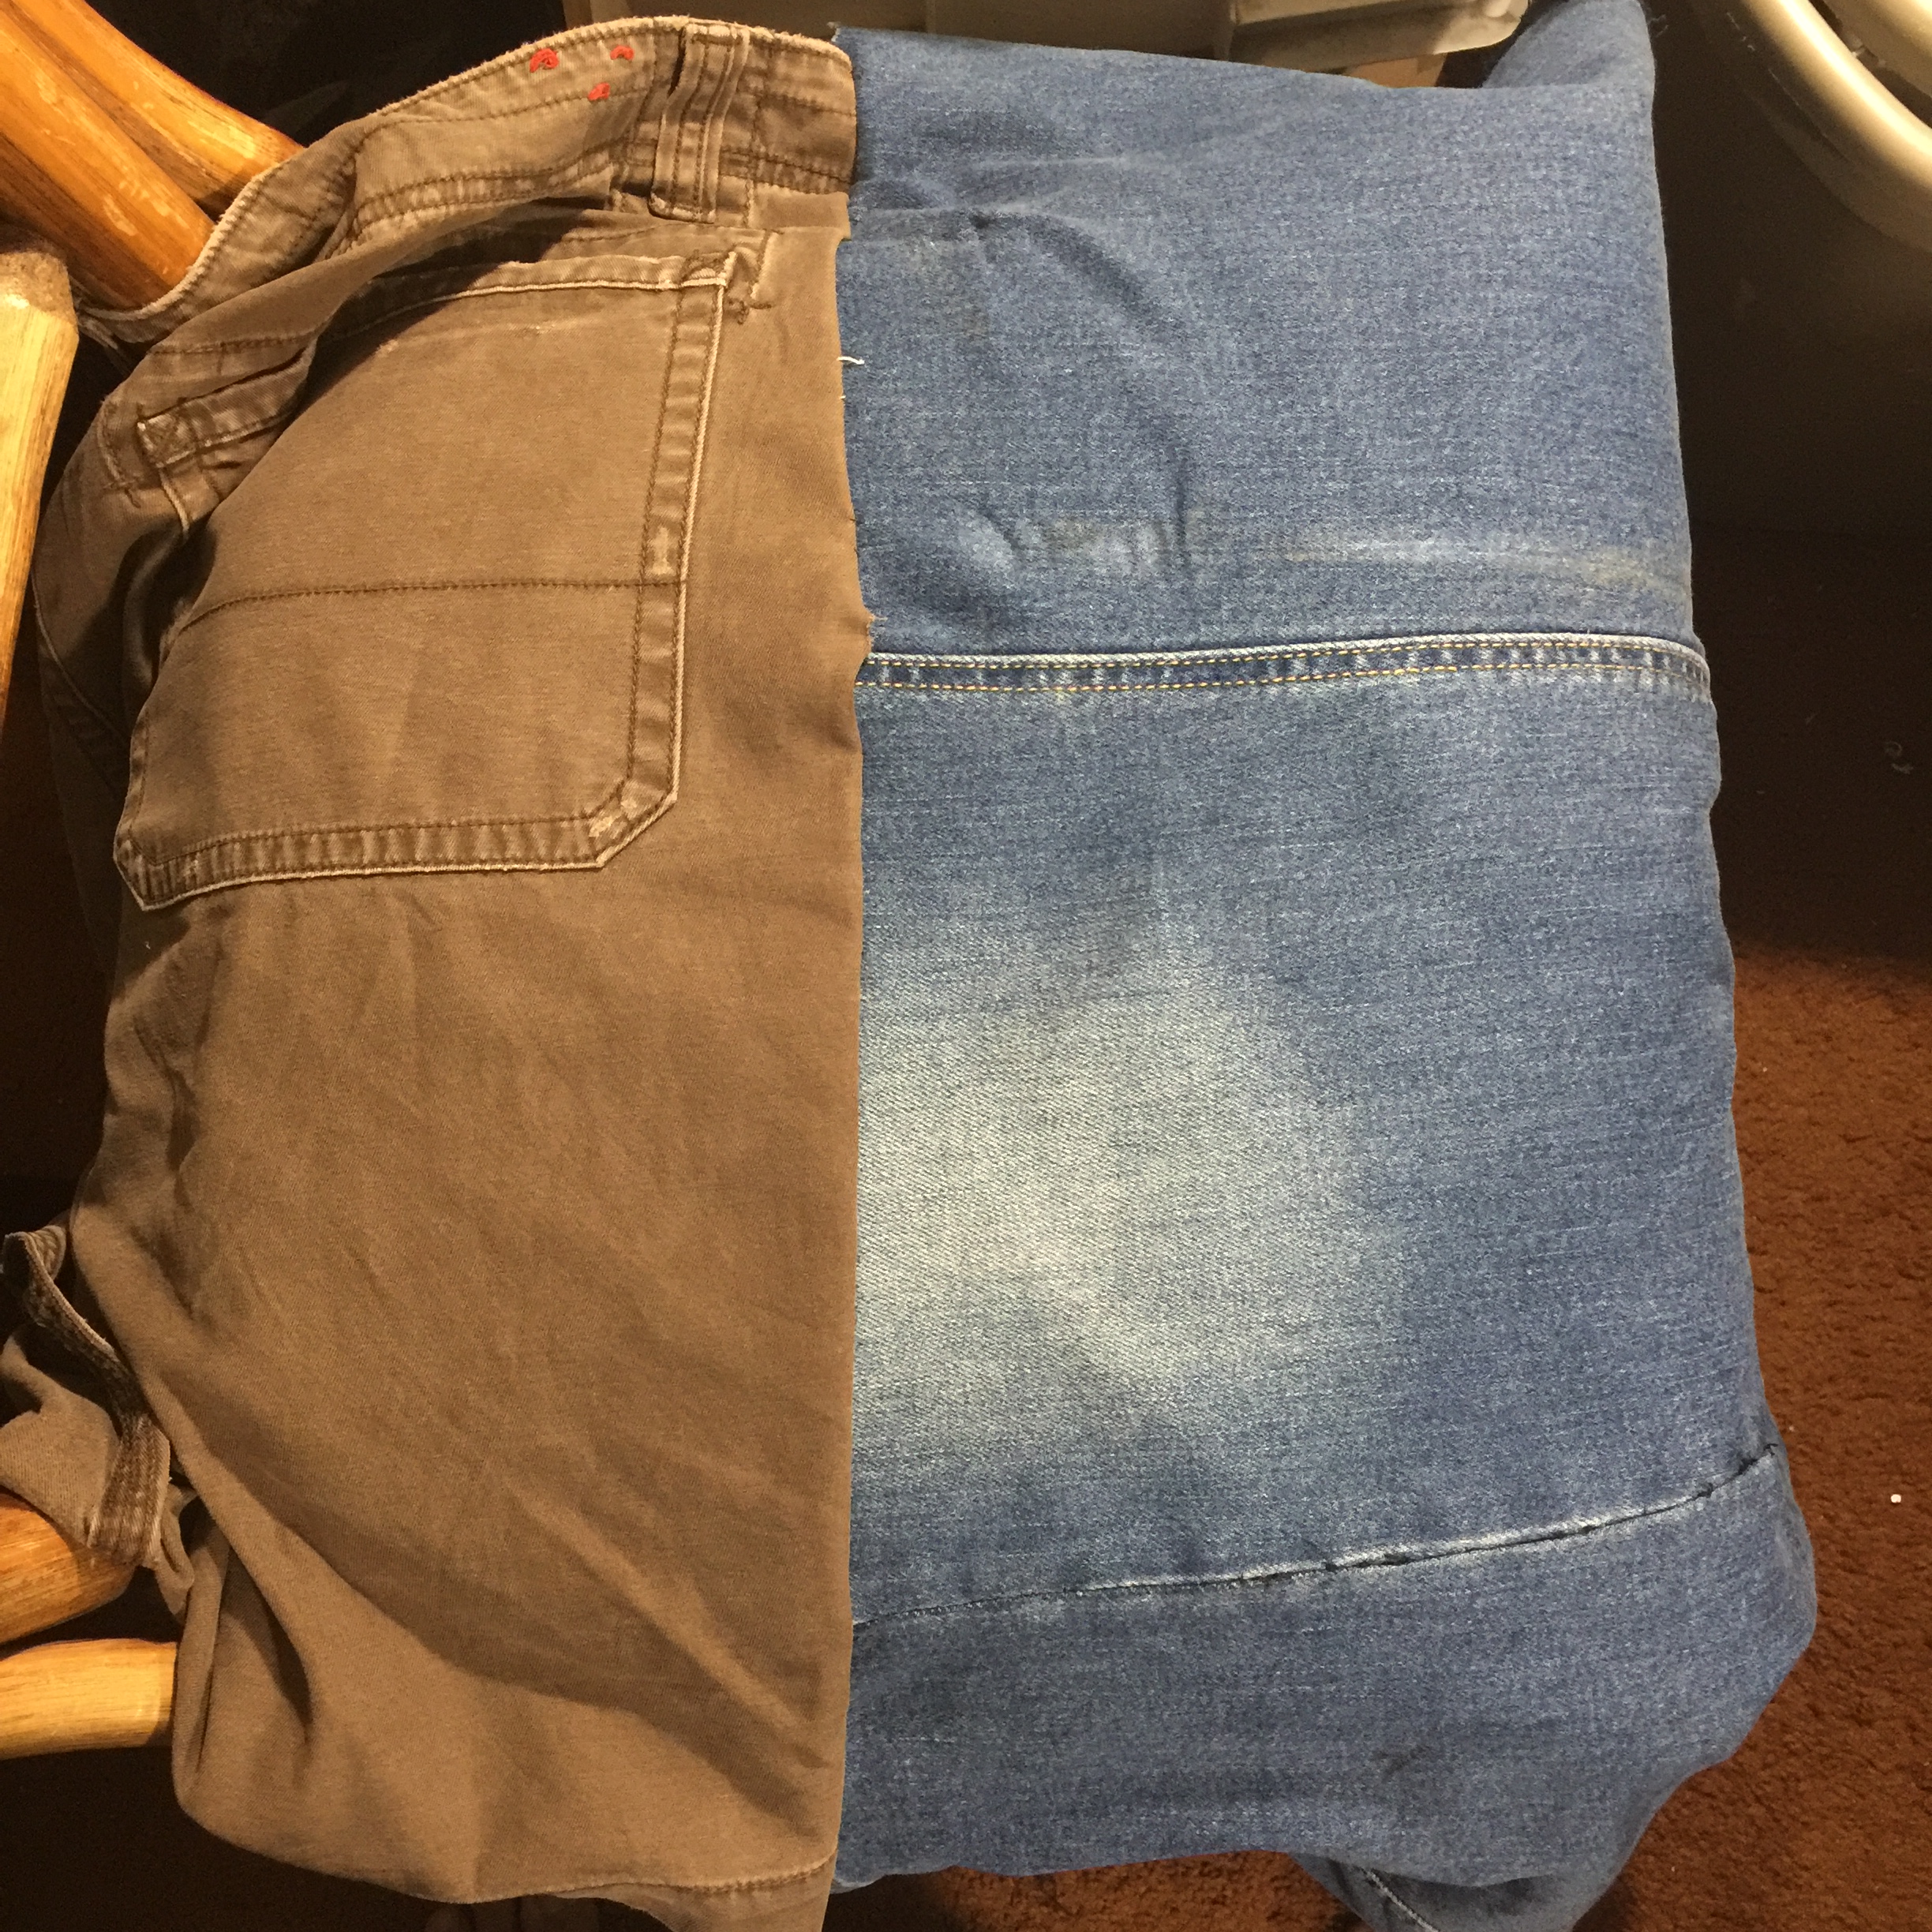
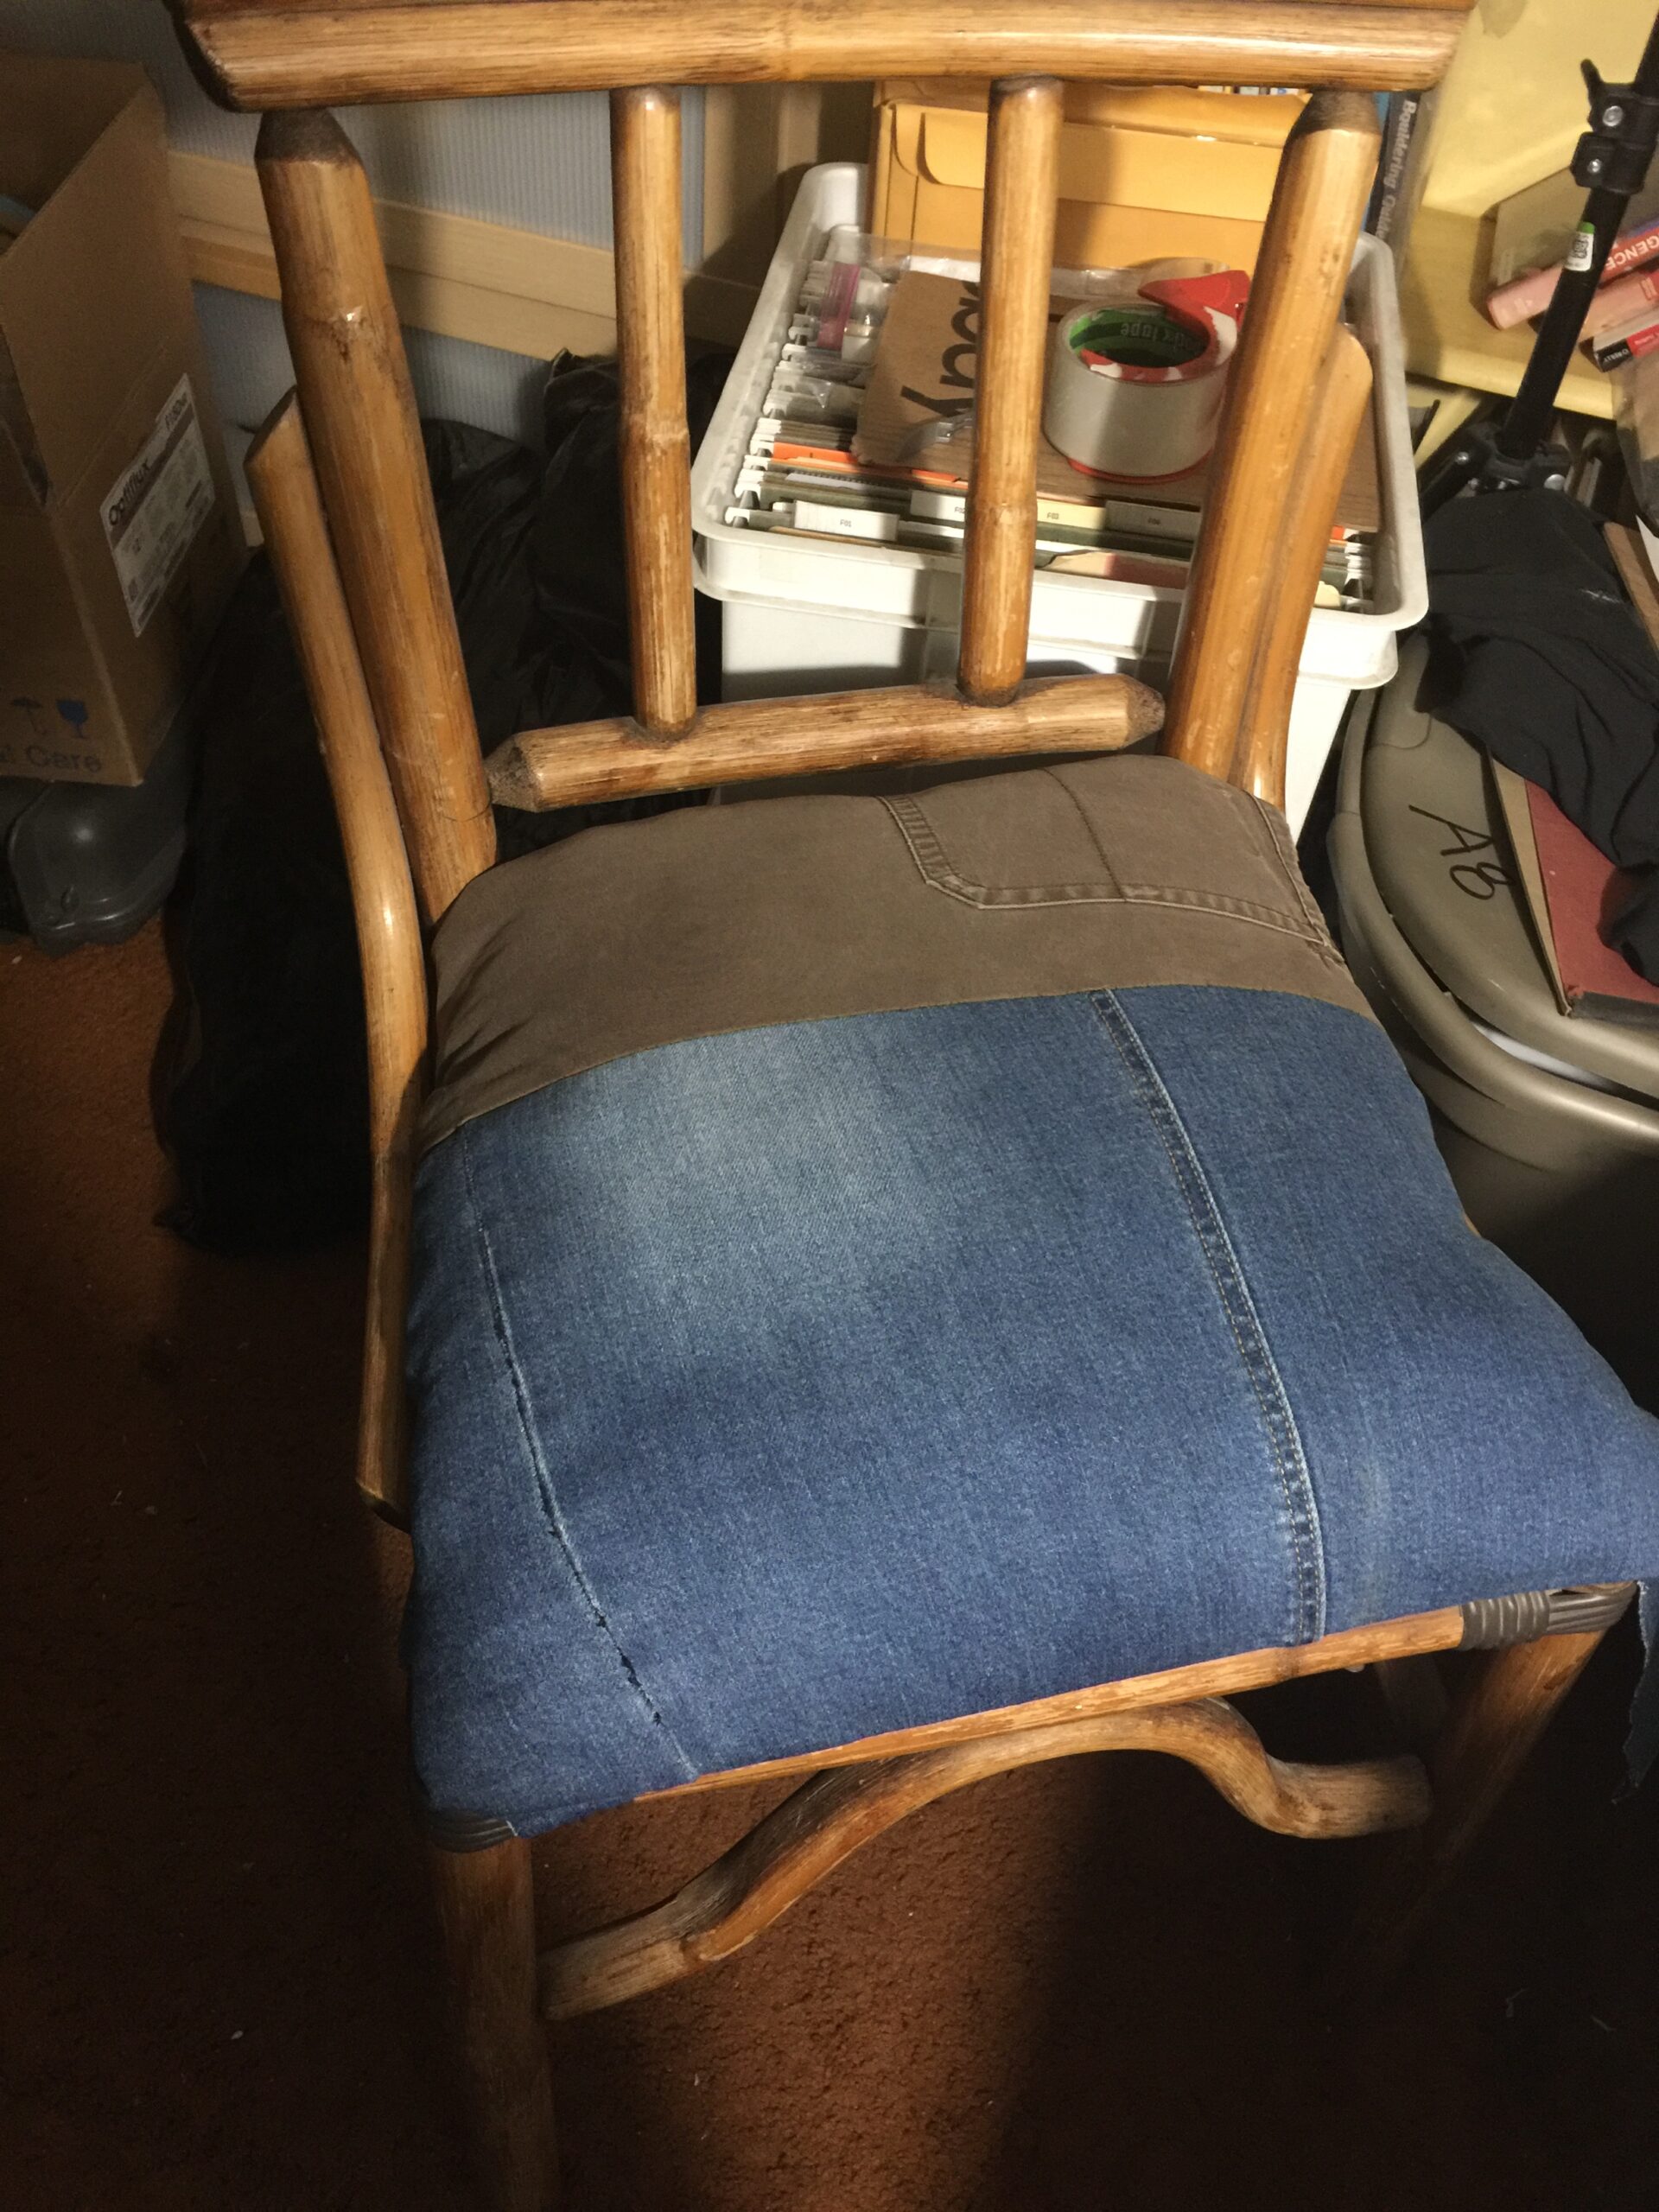
Draping the patchwork fabric on the seat. A preview… 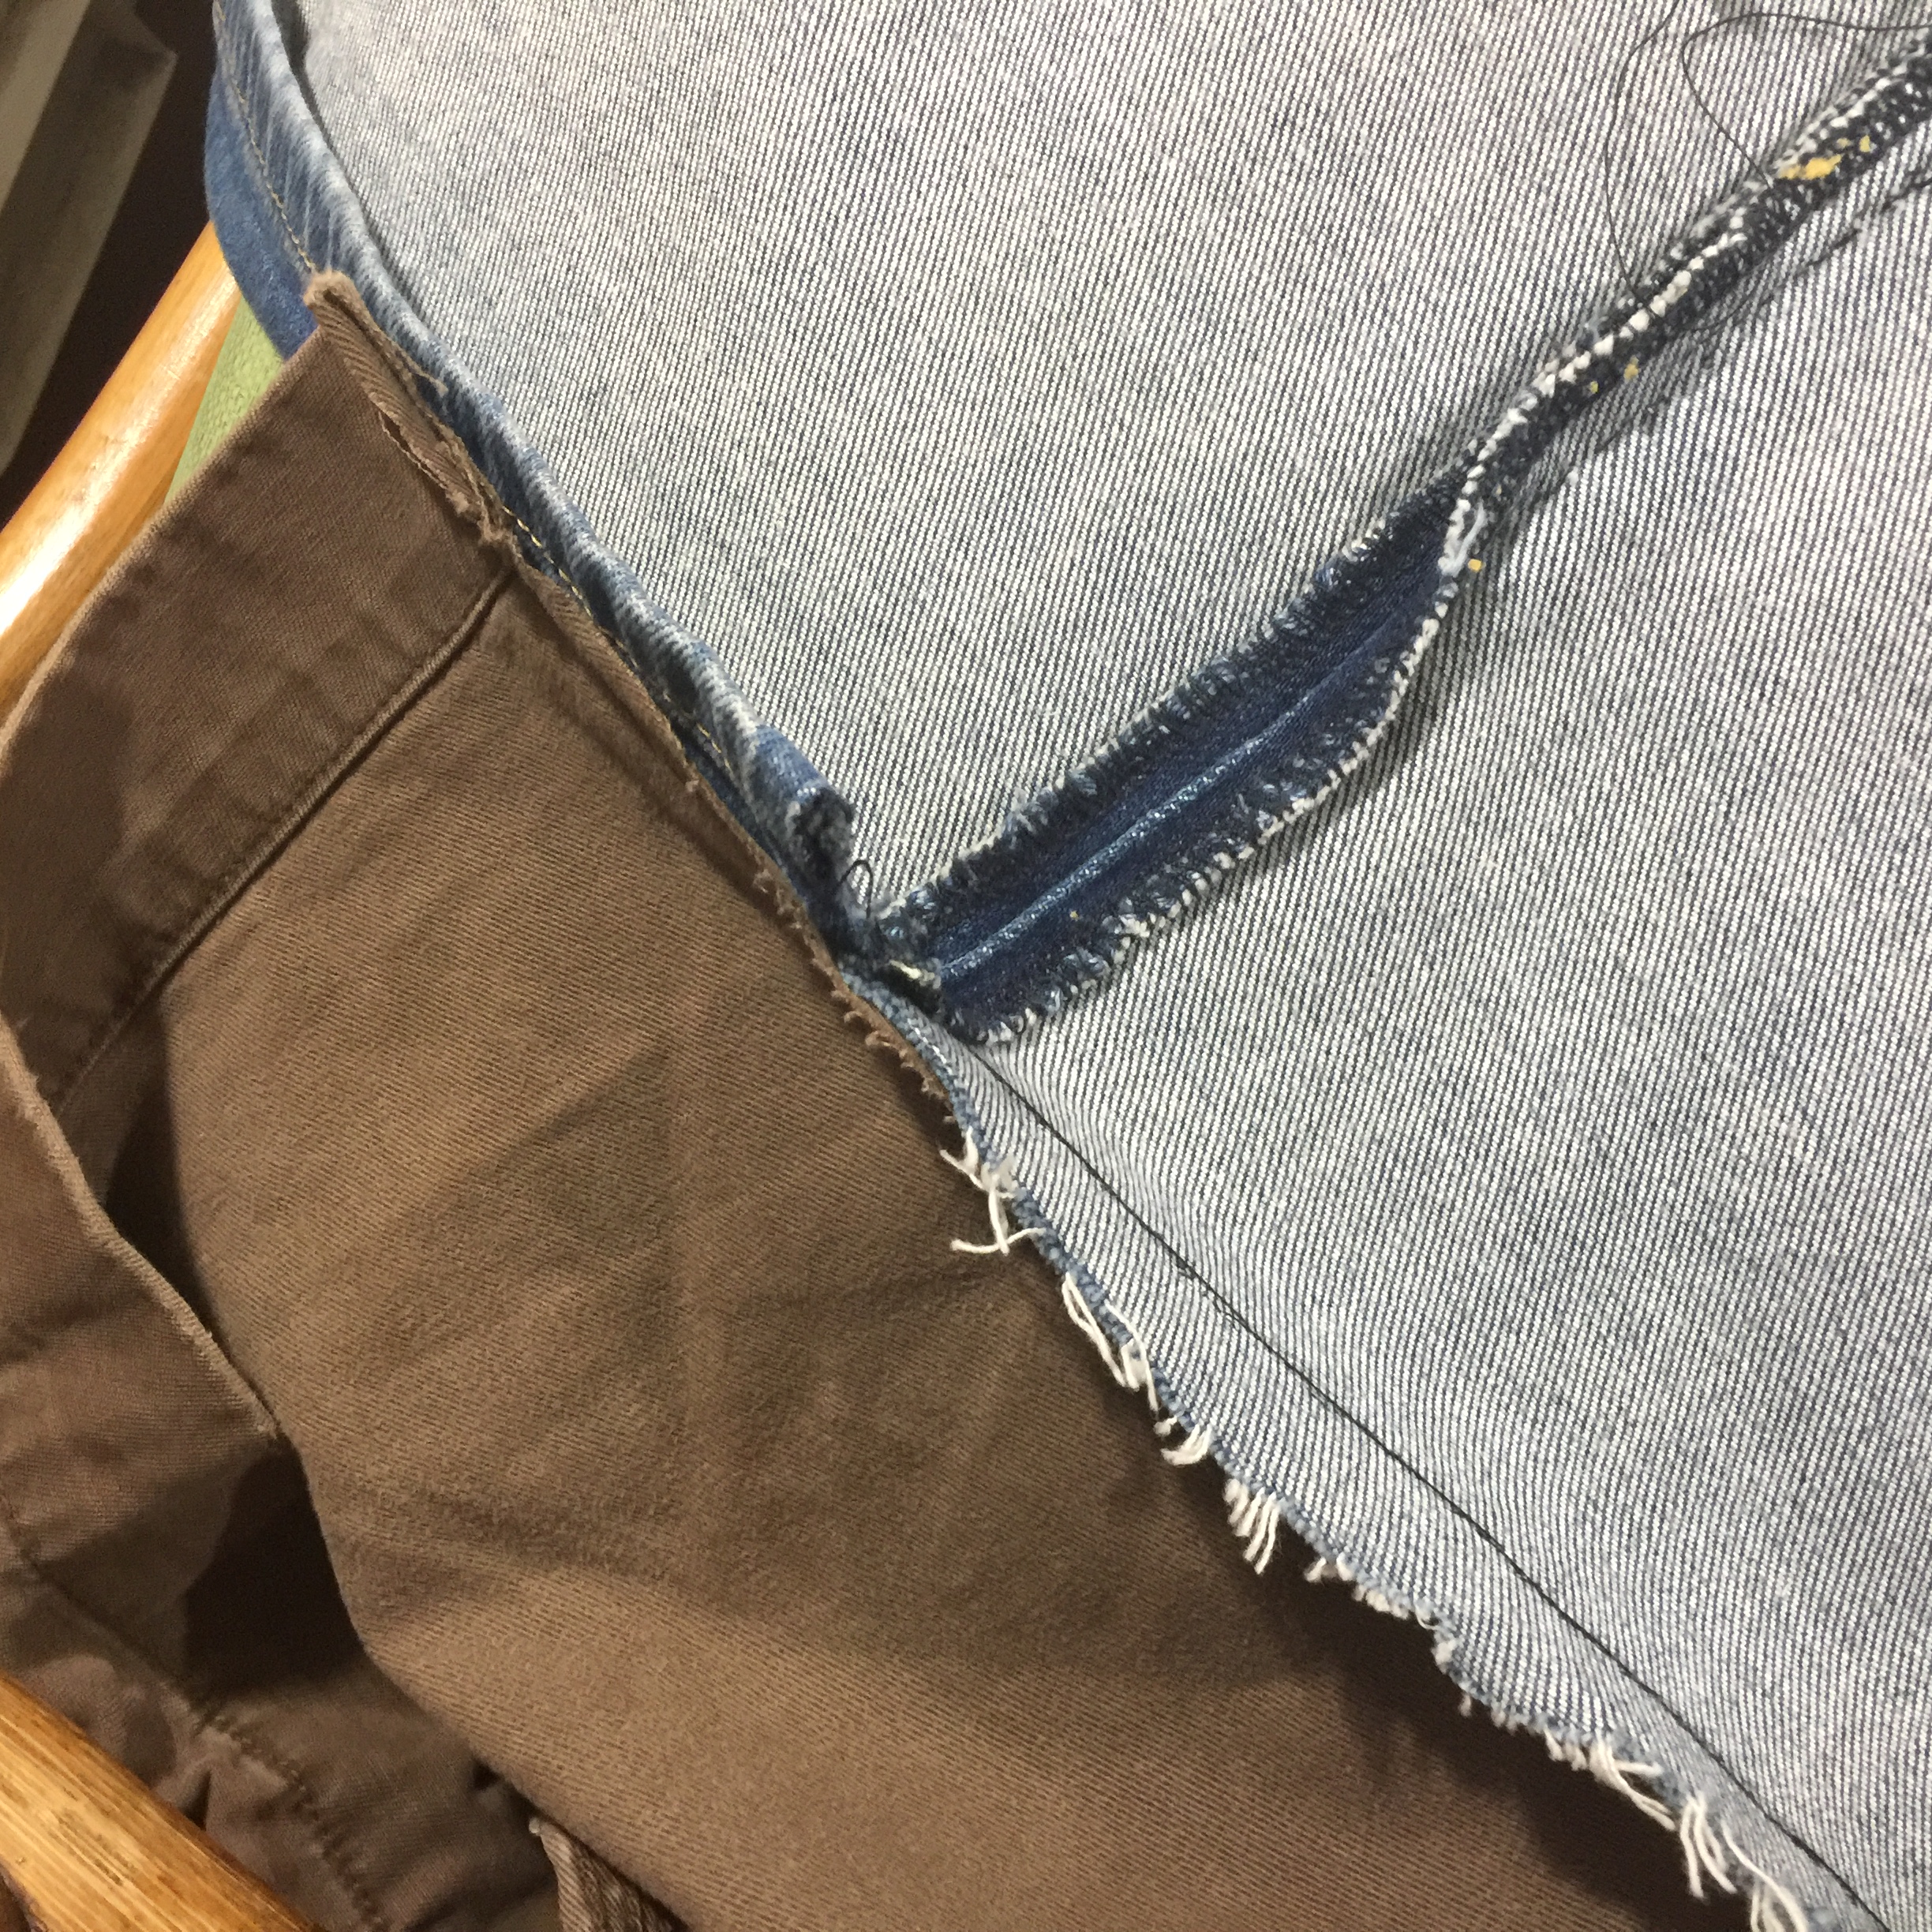
What the patchwork looks like from behind. 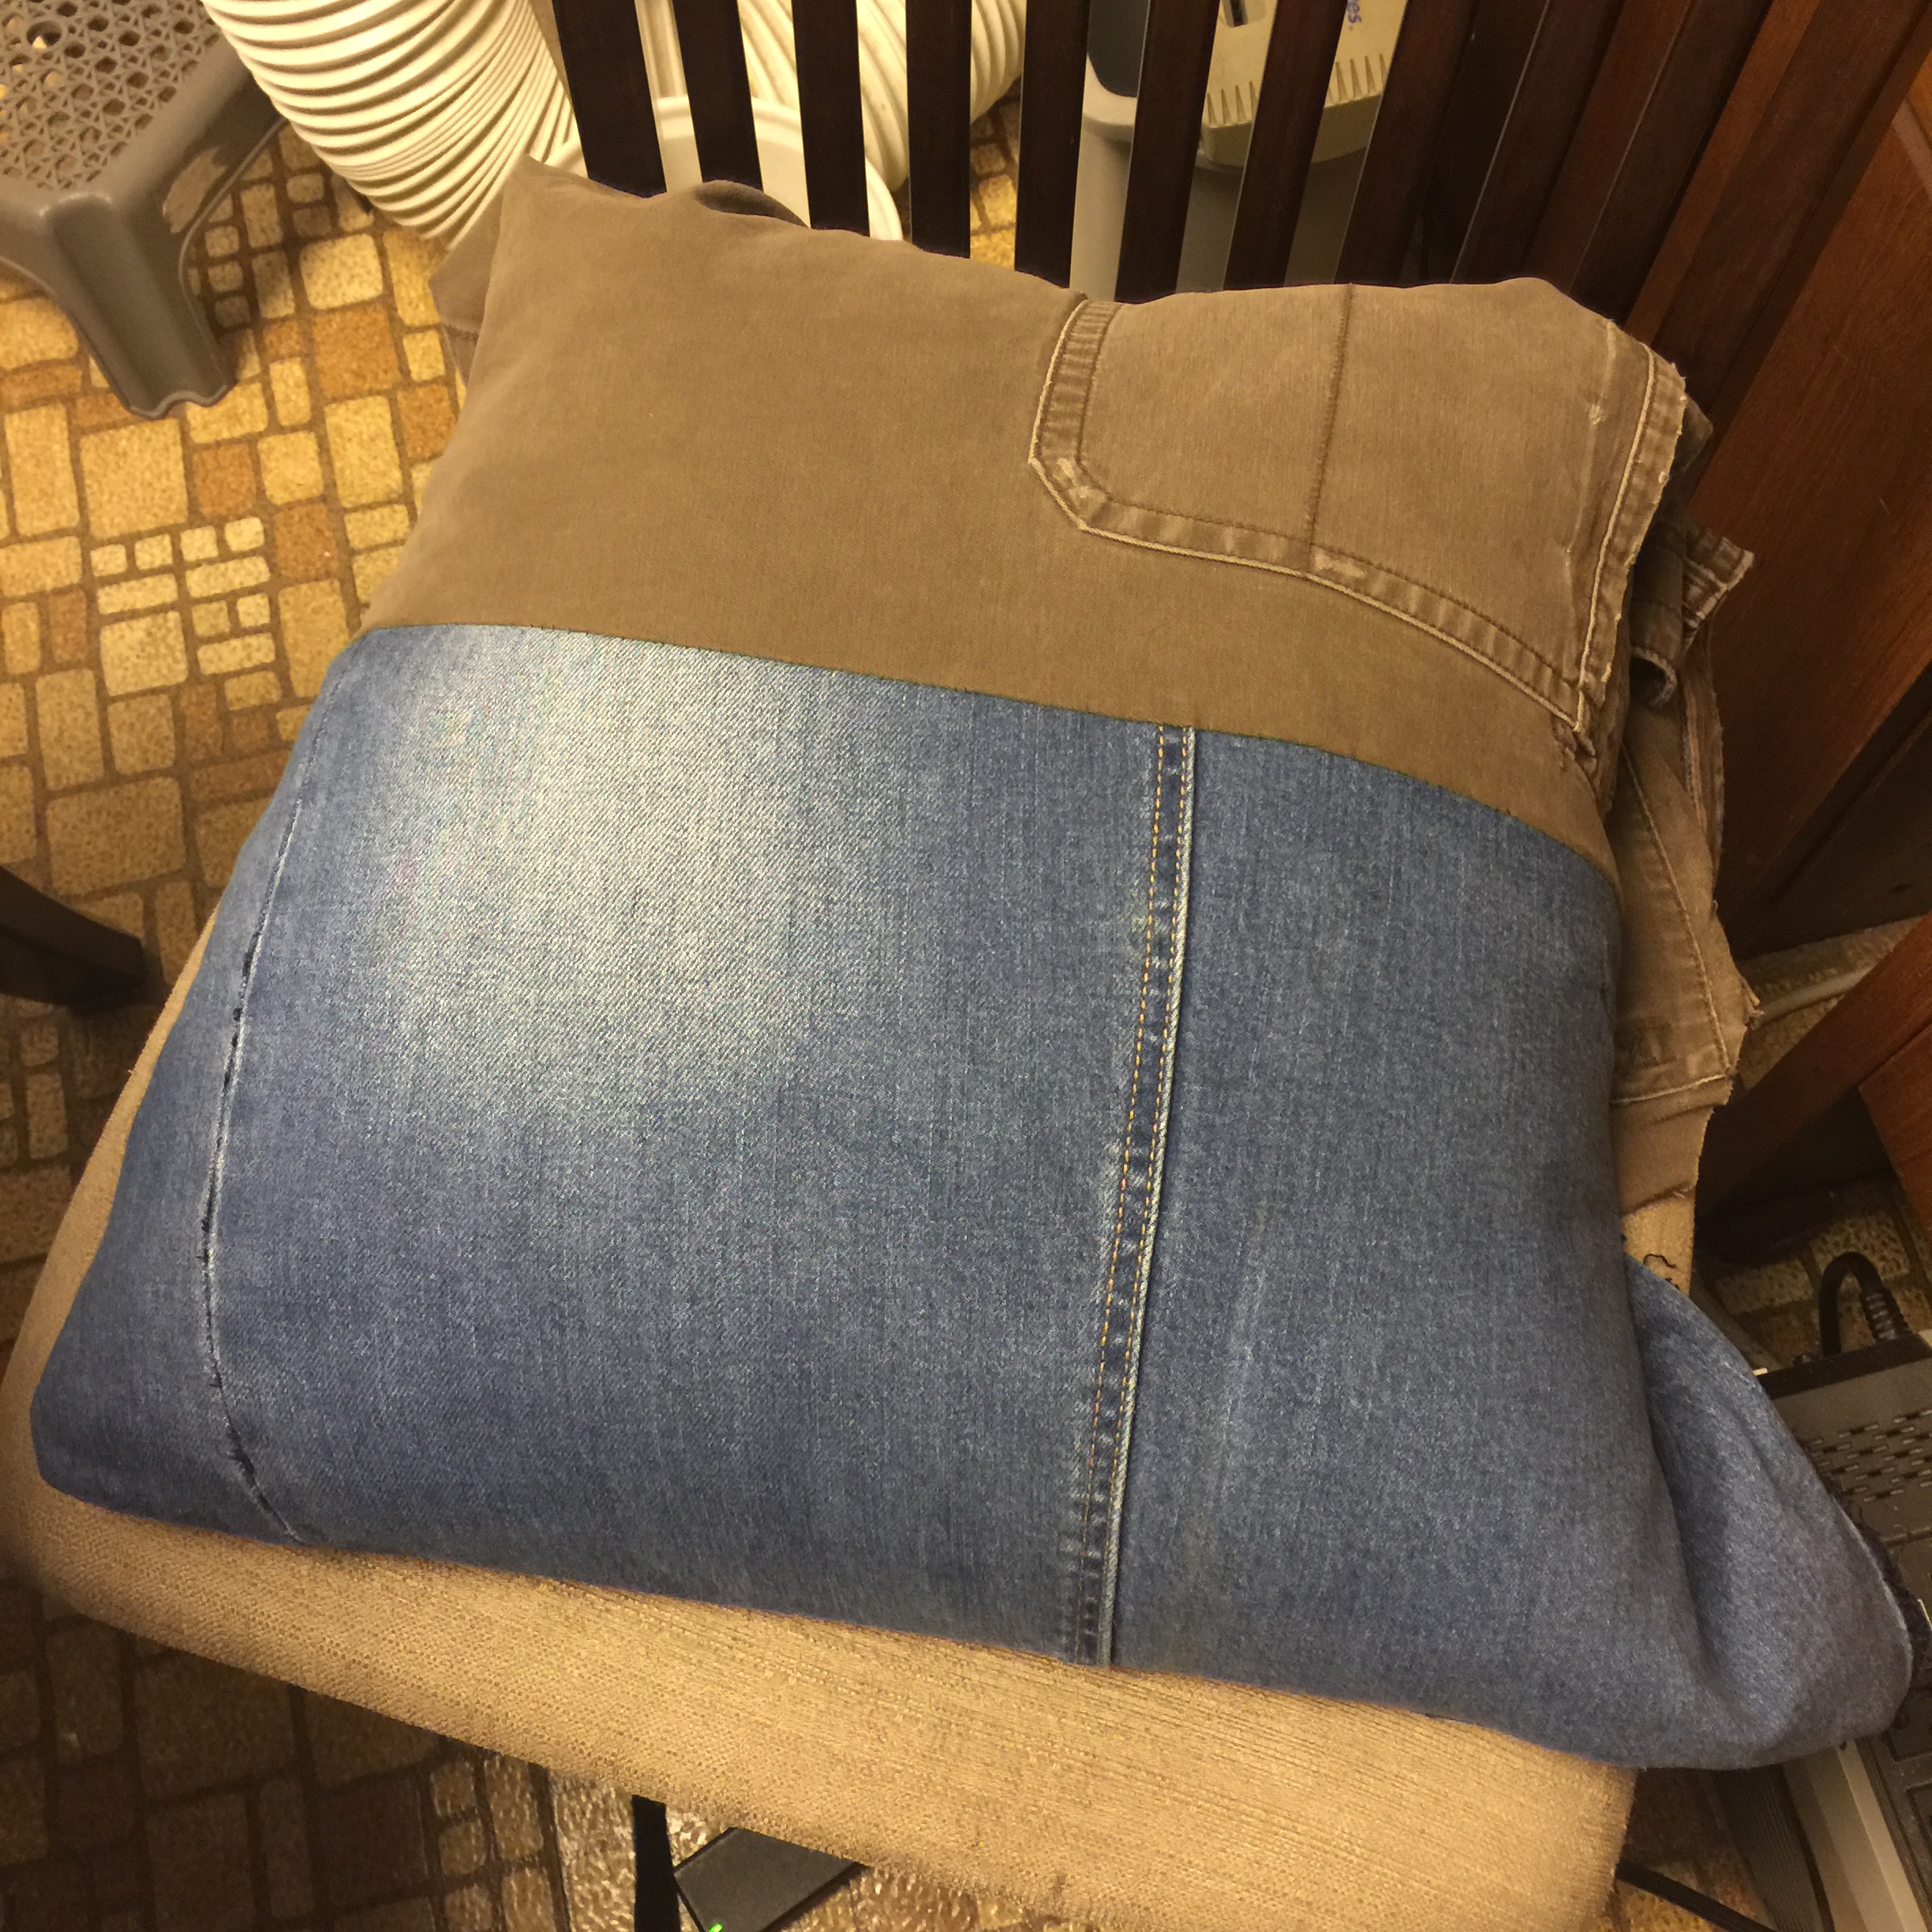
It’s been stuffed and partially stapled. 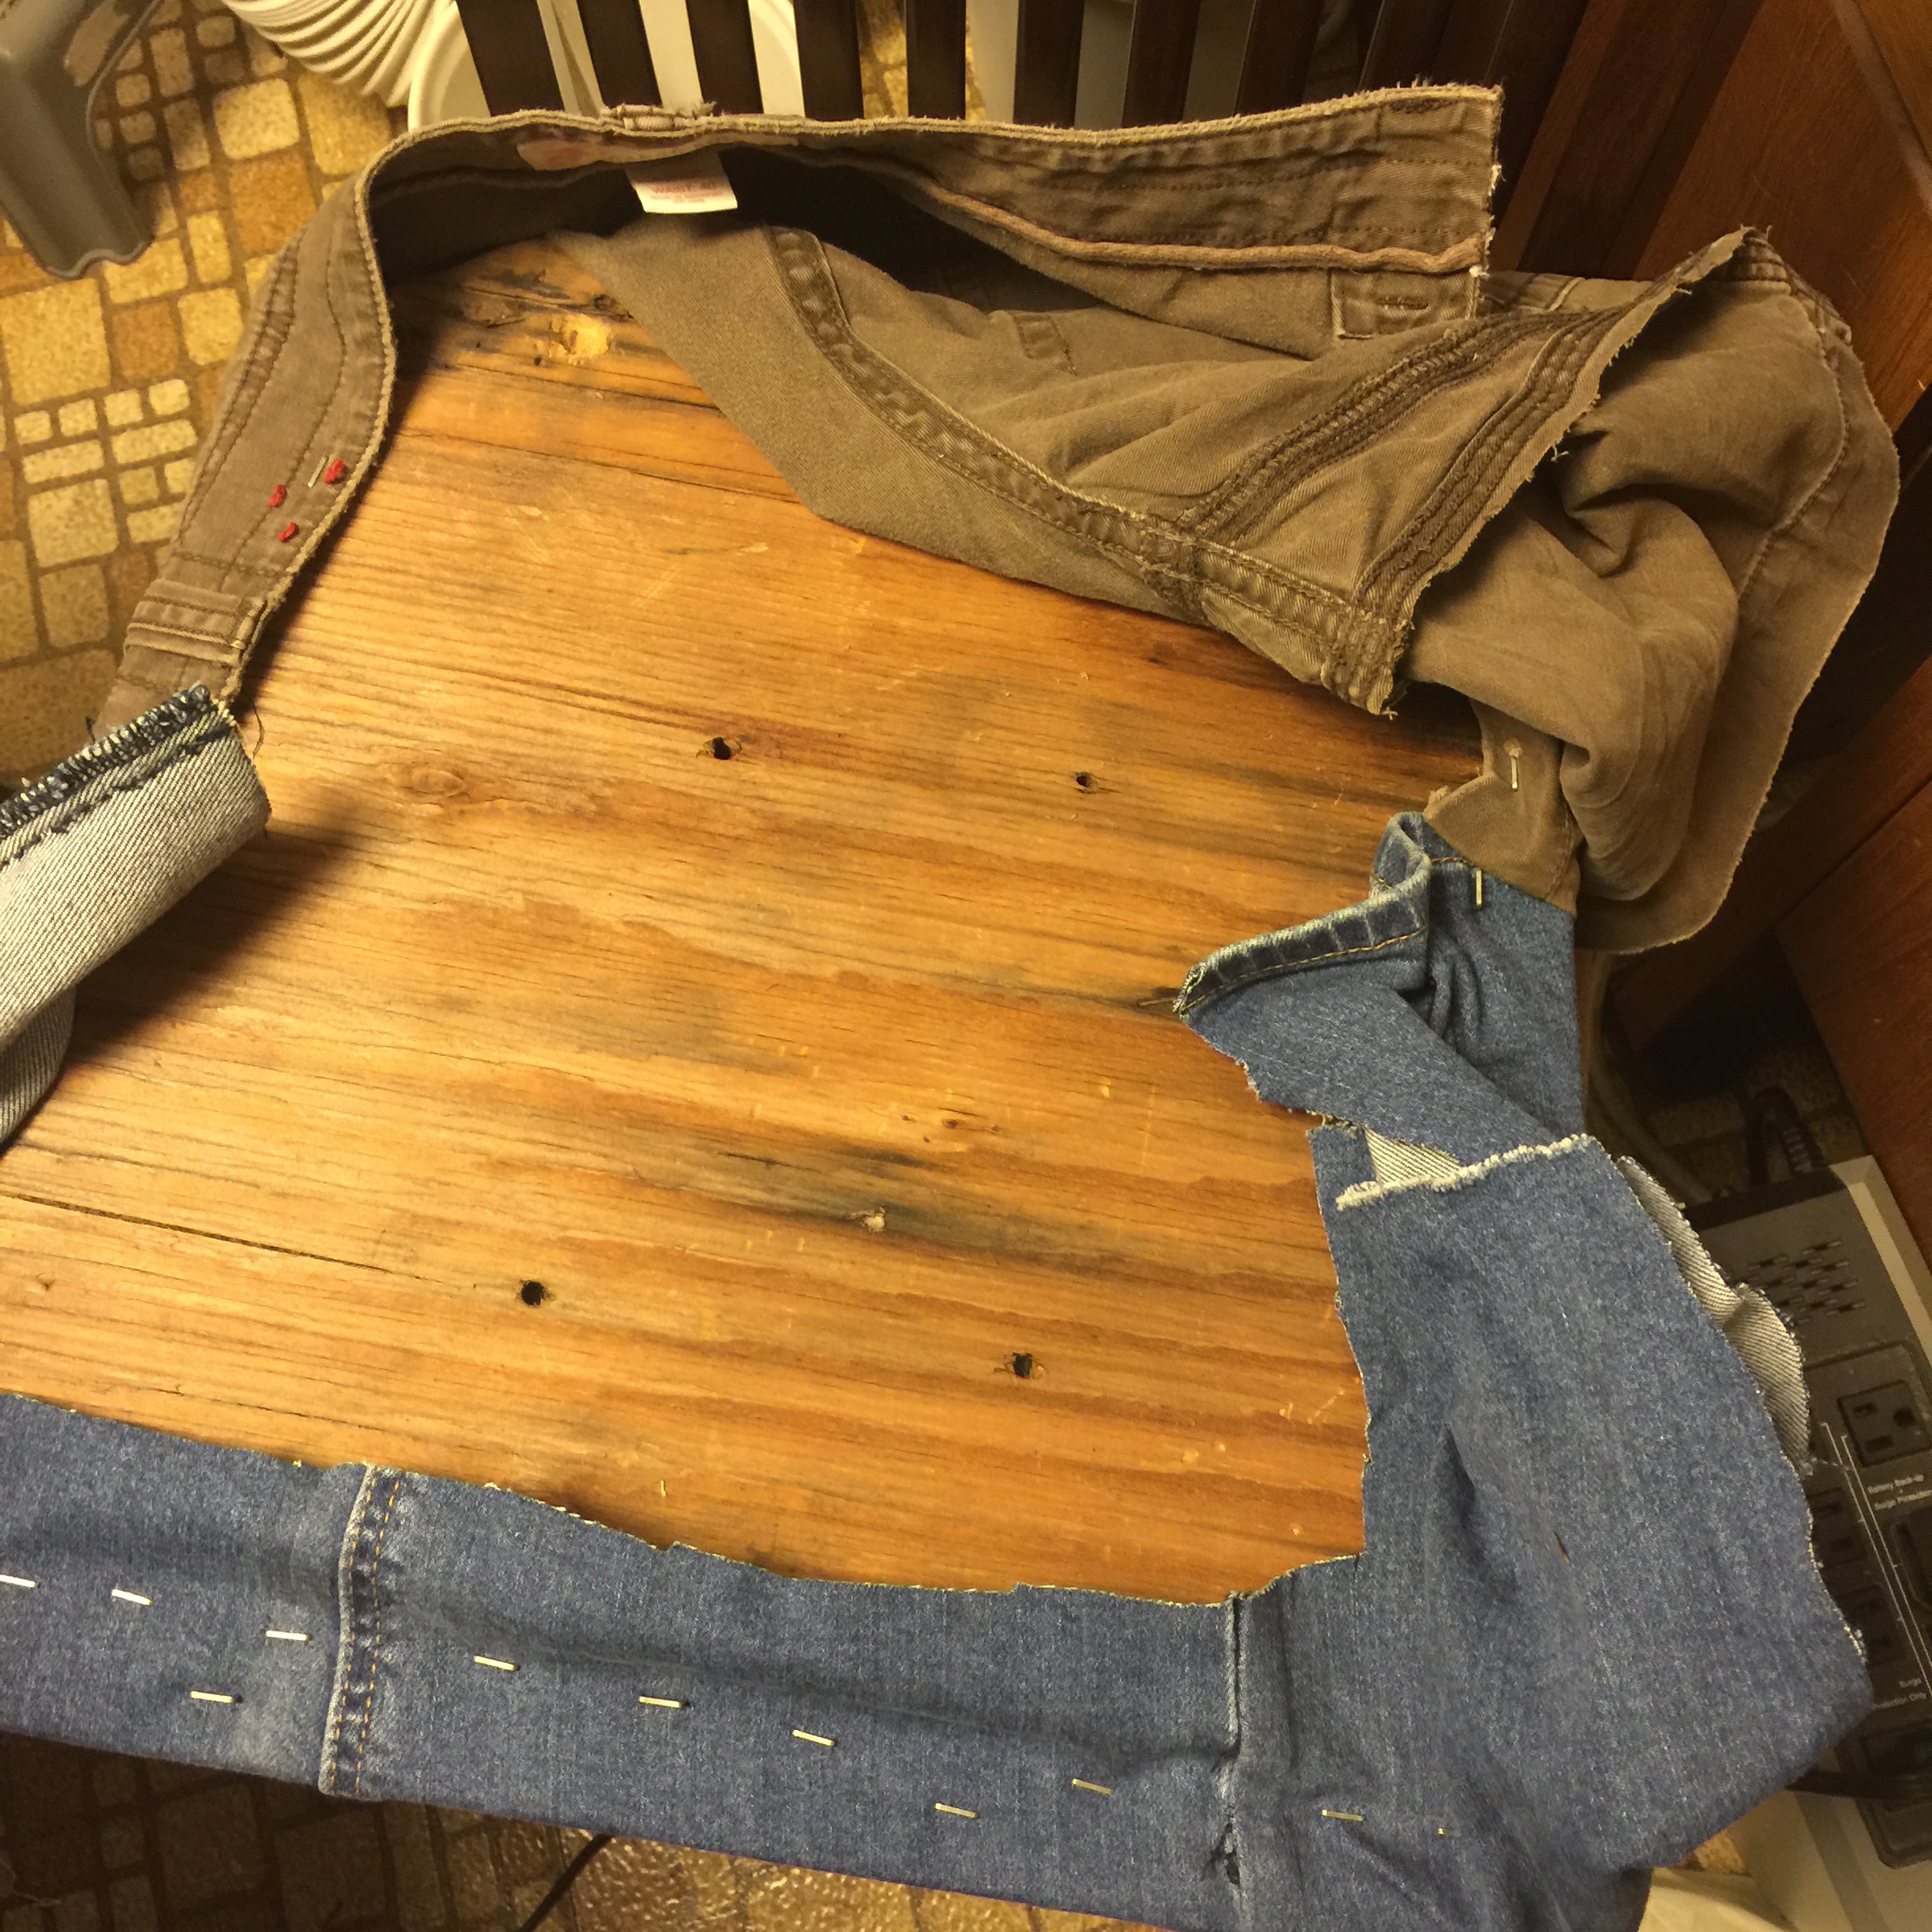
Stuffed and partially stapled. I ran out of staples.
This chair’s seat had torn, and the foam was coming out. I wanted to reupholster it, but for as little money as possible.
I watched a few YouTube videos about reupholstering seats, and the pros seem to be able to do it in 20 minutes. What you see above is the result of three hours of work! It’s still not finished.
Of course, the people doing the seats professionally have better tools, like pneumatic staplers. They also use new fabric, foam cut into shape, and the seats they’re fixing aren’t quite as messed up as this one. They also end up doing a nicer job, but this is my first seat, ever, so, I’m happy with the work so far.
Almost Free Fabric
Upholstery fabric is pretty expensive. I’ve seen it going for $20 a yard downtown.
I don’t have a hookup for fabric, so I turned to my usual sources: my own clothes. I had some blue denim left over from when I cut my pants into cutoffs. These were denim with a little stretch yarn in there – and I think that was a bad fabric to choose, because stretch is bad.
The other fabric is a pair of shorts that developed a rip in the side. So I cut it apart and got a big scrap of fabric to augment the blue denim.
I think the price of the pants was $2 from the Goodwill Outlet. $2 for both. They don’t have that pricing anymore. If you’re in Southern California, you can get pants for a dollar at any Goodwill on Thursdays, when they do their $1 sale. You can also find drapes at the Goodwill Outlet, and I think they charge $2.50.
My scrap pieces of fabric were sewn together by hand. It took over an hour to get these three pieces together, because I don’t use a sewing machine.
Free Stuffing
Batting and fill material is freaking expensive. Just look up “batting” or “fill”. A 5 pound bag of dacron fill is $25. 1 pound is $14. It’s the shipping that makes it expensive.
Foam is also pretty expensive. 22″ x 22″ x 2″ foam at Home Depot is $6.
The cheap way around this is to find an old pillow. You probably have one that’s kind of disgusting, but you keep using it, instead of spending $7 to buy a new pillow. Use the fill from that.
What I did was even cheaper. My housemate was throwing out a broken stuffed chair/recliner. I got the knife out and removed the stuffing, which was conveniently in these thin paper fabric bags. I got a huge 30 gallon trashbag worth out of it. I also got additional upholstery fabric!
So, keep an eye on the curb, and if you spot some not-too-shabby, cheap furniture being thrown out, take a good sniff to see that it’s not totally disgusting… if it’s OK, you can harvest the filling, batting, and even the upholstery material.
Dismantling the Old Seat
The YouTube videos had tips on how to take apart the old seat. You should watch and follow them. You need to get at least these tools.
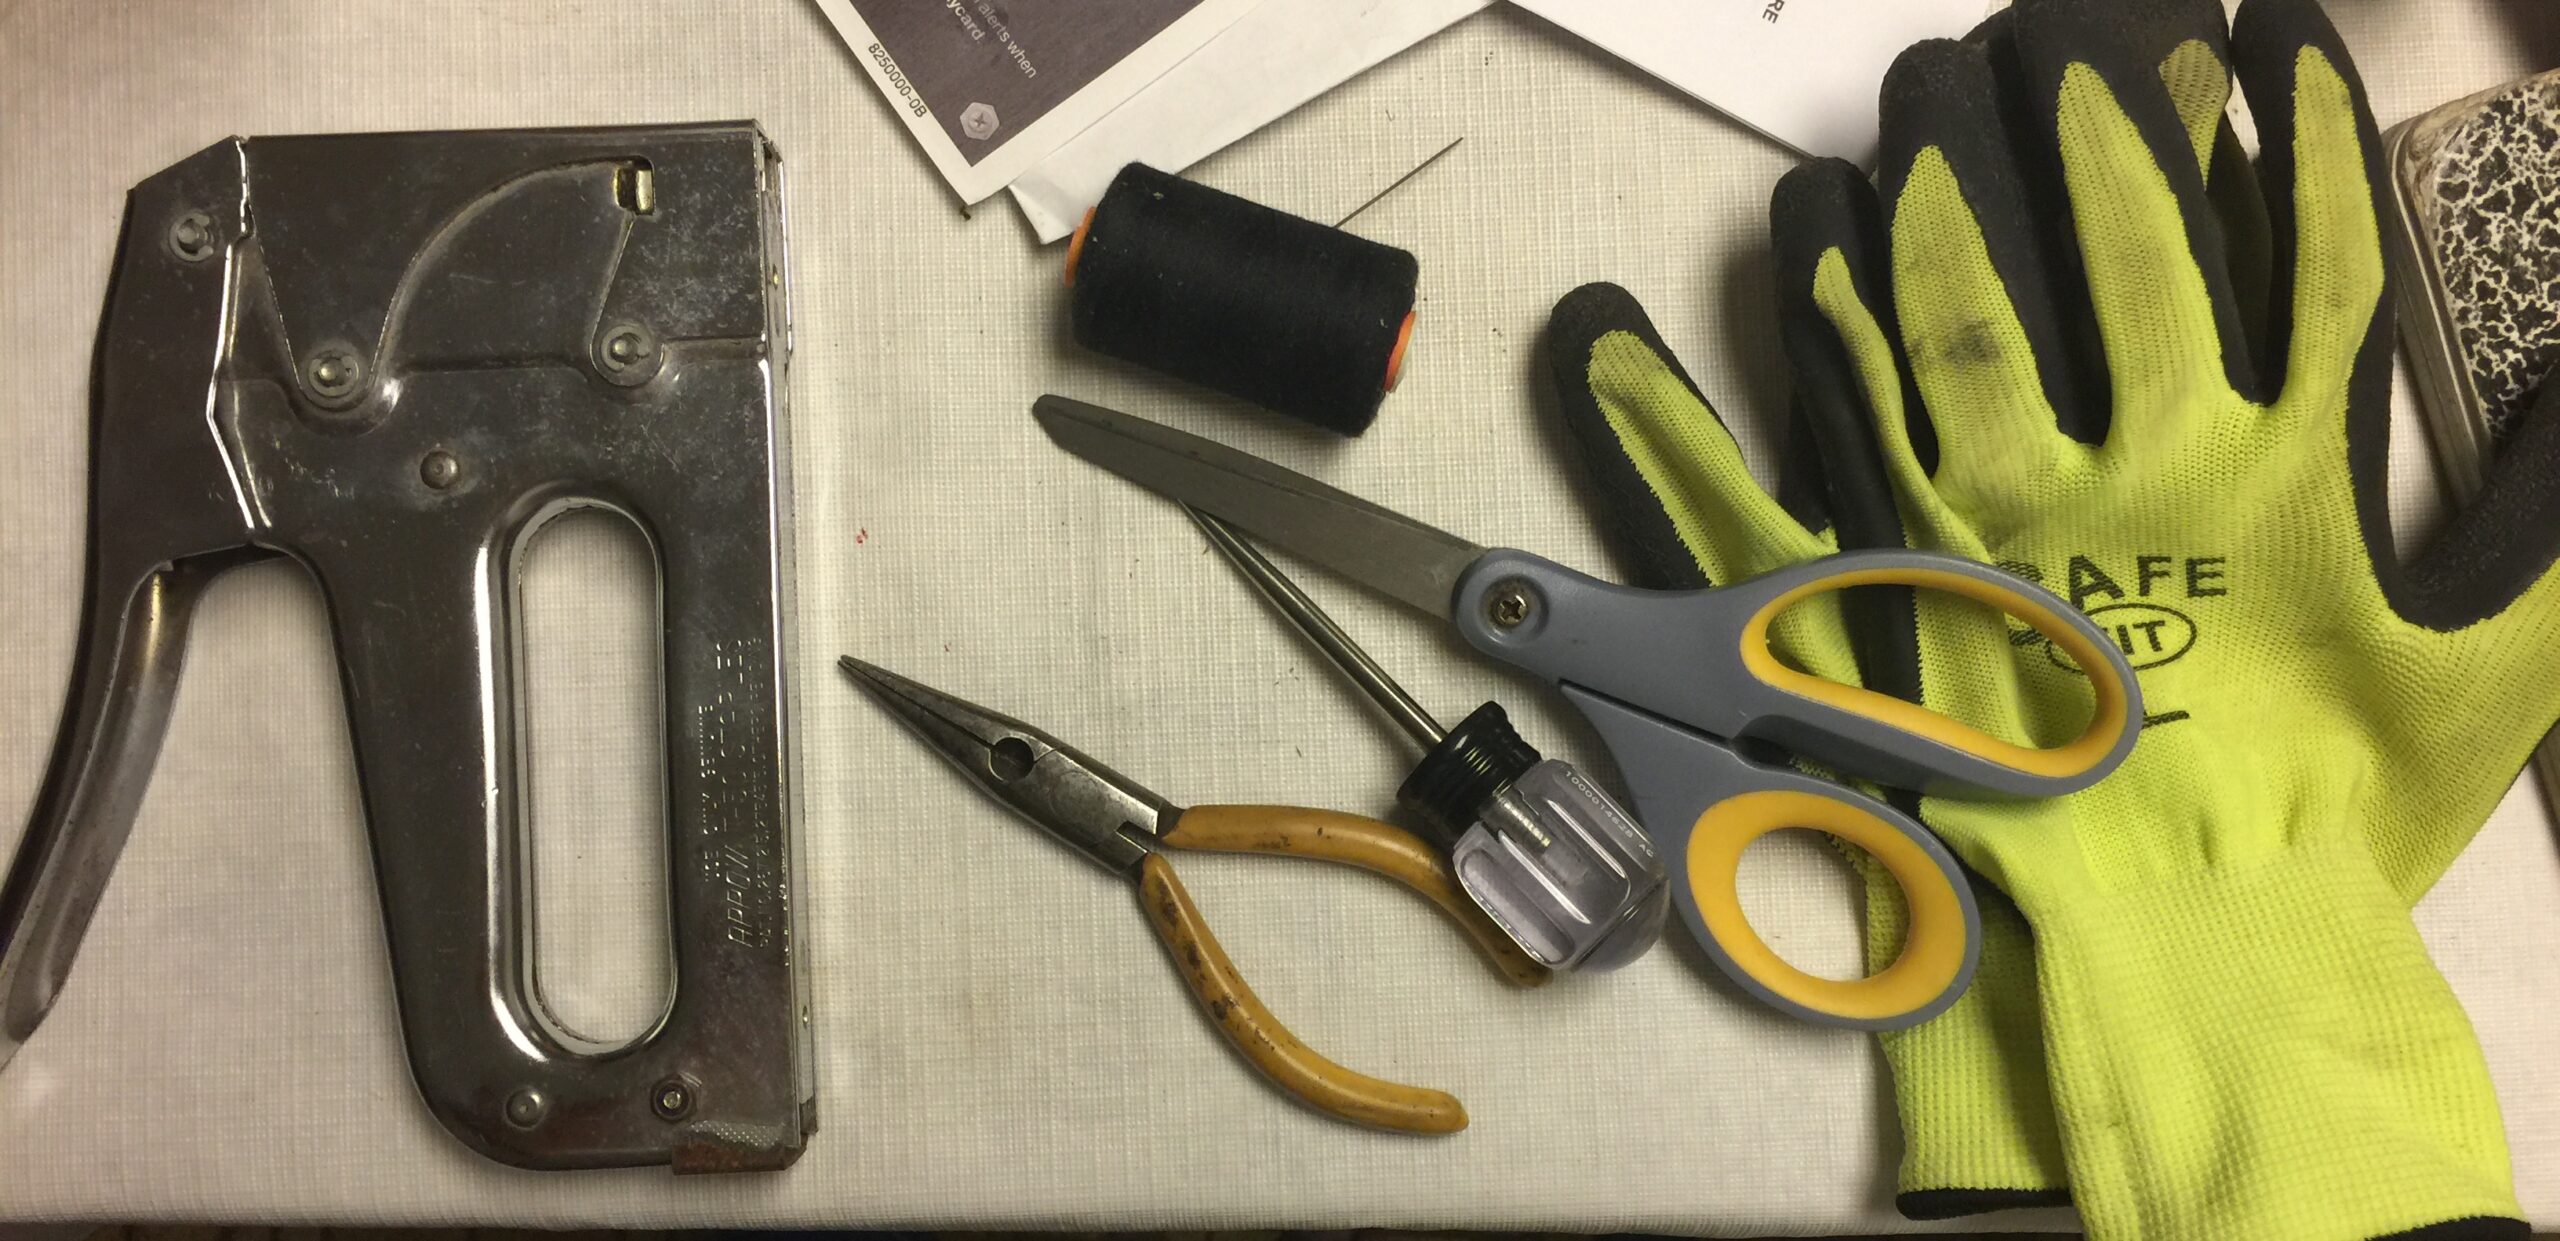
To tear the old seat apart, you need an awl. This is absolutely necessary and costs around $5 to $10 at a hardware store. It’s the only way you’re going to remove the old staples.
You use the pliers, or better, “dykes” if you have them. Dykes are a sexist slang for side cutters. They’re used to cut wire, but more importantly, they can grip the staples to pull them out.
Wear gloves or you’ll get splinters and cuts all over your hands.
So, all I did was remove the old fabric, remove the foam, and try to remove all the old staple bits. It took a long time, probably an hour, but I had some prior experience from another chair I’m working on, so the first time, it should take a while. Be careful and don’t hold anything in a way where the awl can slip and stab you. Always hold the seat from the side, and push the awl away, while you twist it to get under the staple.
Attaching the New Fabric and Stuffing
I’m a total newbie so I just made it up. I tacked the fabric on the front side of the seat, and adjusted it so it was kind of straight. Then I tacked across all the front.
I then folded over the sides, but didn’t tack them. I pulled the fabric on the front forward around half an inch (so I’m adding a full inch of height at the front). Then I did the same to the sides. I put in a few preliminary tacks on the sides. These are temporary.
The whole thing formed a “bag”, and I stuffed the bag with the fill. It took a lot of fill, and I pushed it down. However, I didn’t push enough, because I didn’t stuff the corners enough.
Next, I pulled the back part over, and tacked it in with one staple. This was a temporary one
Then, I pulled one side tight. This was pulling the fabric toward the center line around an inch, so the stuffing would get tight. I stapled the material down.
I ran out of staples.
Finishing it off will be pretty simple. I will pull the other side down, tight, about an inch toward the center line. Then I’ll fix up the corners so they aren’t so ugly – but I won’t be able to really get them right because they weren’t started right.
Then, I’ll pull the back down an inch, maybe more, to tighten up the front-to-back tension, and staple that down. I want to seat to feel like a seat, not a pillow.
Bugs and Fixes
The front corners weren’t stuffed enough, and are just “flat”. You can feel the wood seat. It’s not cool. If I do this again, I’ll try to stuff the corners with old foam, so I could get a good “shape” on the corner.
I’d also consider stuffing the edges with rolls of fabric, or something harder than fill.
I bought the wrong stapler. That’s an Arrow T50, which is the classic big stapler. It’s too big. The right stapler is one step down and uses thinner staples. I got my stapler on auction on Ebay, for $12, so it wasn’t too bad. I’ll keep using it, but a smaller one would have been better, and easier on the hands.
I think the smaller one is the JT21. Look for any stapler that is compatible with JT21 staples.
There You Go
When this isht is done, it’s going to look pretty cool and feel super comfy. It’s all fabric, so it’s nude-ass compatible. It’s all DIY and trashy-looking. For real DIY, not just looking like DIY. Real trashé.


Leave a Reply